
The Vanity That Made It Into Our Wedding Vows - One Room Challenge Week 4
Okay guys, as I promised last week - this week is all about the dresser we turned into a vanity for the guest bathroom! We didn’t actually accomplish a ton during week 4 of the One Room Challenge, but I’m gonna attempt to do a quick break down of how the dresser turned vanity came to be!
But first of all - let me jump into story time re: the title of this post….
Okay guys, as I promised last week - this week is all about the dresser we turned into a vanity for the guest bathroom! We didn’t actually accomplish a ton during week 4 of the One Room Challenge, but I’m gonna attempt to do a quick break down of how the dresser turned vanity came to be!
But first of all - let me jump into story time re: the title of this post. In our last guest bathroom, we also had a dresser that we turned into a vanity, and my husband kind of hated me for it. He was confused what I was even talking about when I first told him the idea, and then he was all unsure about how he was going to do it… and then threw out some expletives during it… and then loved it afterwards and always pointed it out to people when we showed them around the house. (Insert eye roll emoji here) Anyway, one of our wedding vows was along the lines of “thanks for going along with all of my crazy house ideas, like turning dressers into vanities”… and here we are again for round 2! (Side note - I was just telling Elizabeth how Dairy Queen was also in our wedding vows… these clearly were not your traditional wedding vows - ha!)
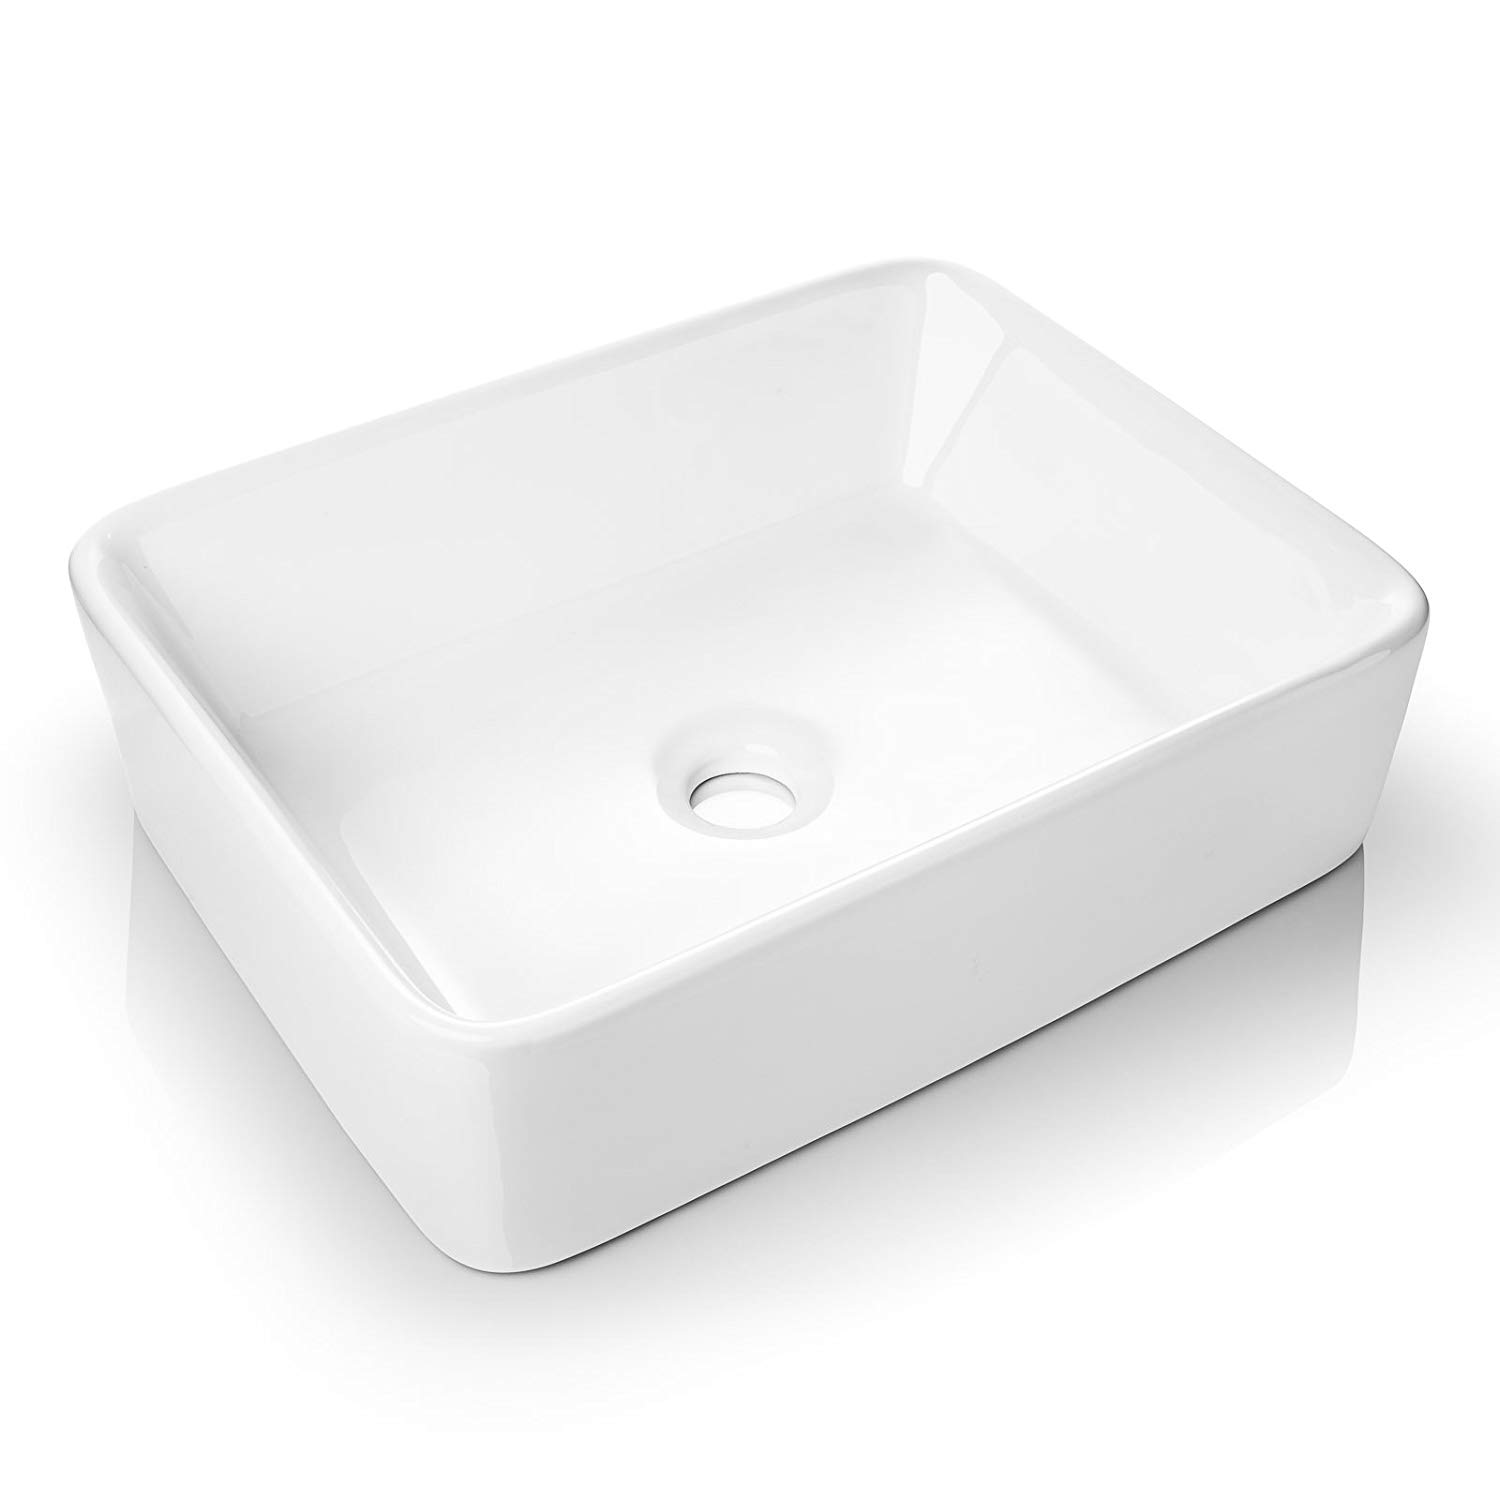
Okay, back to present day. I love the idea of a dresser turned vanity because it adds a lot of character to a space, and is also super cost effective. Have you ever shopped for vanities? Those things do NOT come cheap, but you know what does? A $55 midcentury dresser from Craigslist. Pop a vessel sink and a faucet on that baby and boom - affordable vanity!
Here’s a brief step by step of how to turn a dresser into a vanity:
Step one
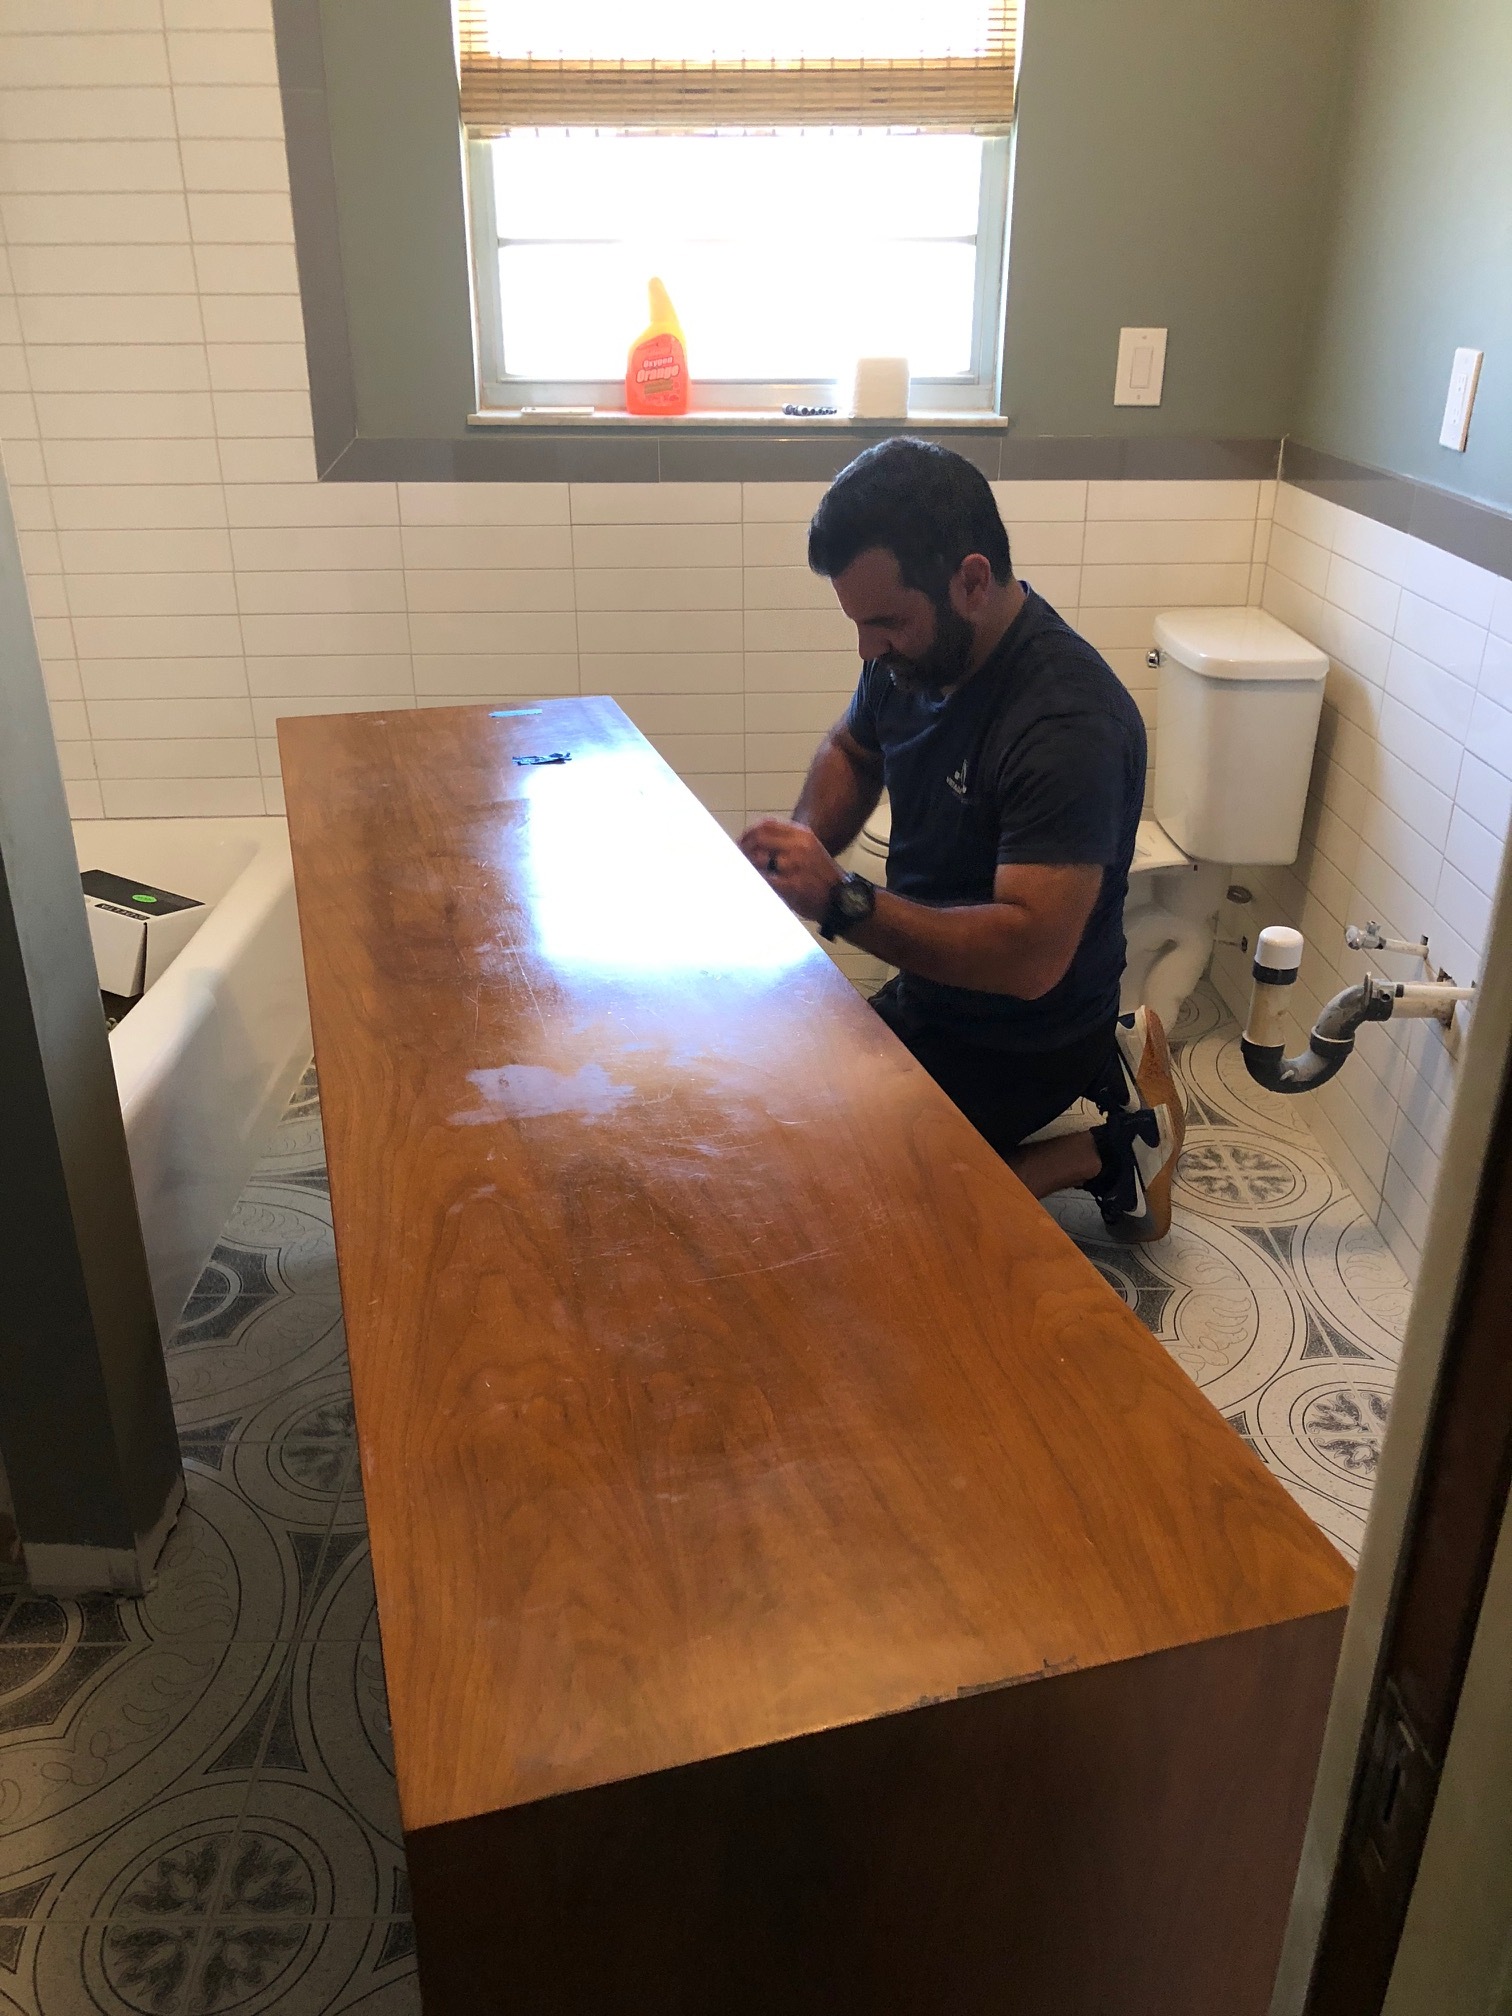
Cut a hole in the back of the dresser to accommodate the plumbing. In our case, our sink was going to be off to the left side, so that’s where the hole went. You can slide the dresser into the final resting place after you’ve done this.


step two
Cut two wholes in the top of the dresser - one for the faucet and one for the sink drain.


step three
Modify the drawers that are in front of the plumbing. If you want to maintain some storage space in the drawers, you can cut out a large notch in the drawers that will fit around in the plumbing. Or, do what we did here and just cut the back of the drawer off. We have plenty more storage space in this dresser (and the bathroom in general) so I didn’t feel the need to keep any parts of these drawers intact.


step four
Install the faucet, vessel sink, and drain, and hook up all of the plumbing. I’m not a plumber, so that’s about as much detail as I’ll provide on that step! ;)
So there you have it! The super basic, in-a-nutshell guide to turning a dresser into a vanity. I’m sure there are much more thorough and technical tutorials out there, but hopefully you get the gist from this! I’m so happy with how our vanity turned out, and the whole thing was less than $150. You can’t even get a crappy IKEA vanity for that price! (Edit: I’m not hating on IKEA - I loveeee IKEA)
Over the next two weeks we’ll be putting the finishing touches on this room - painting and organizing the linen closet that’s in here, and doing the fun part - accessorizing! Make sure you go check out everyone else’s One Room Challenge progress this week too!
Guest Bathroom Paint and Progress - One Room Challenge Week 3
Thanks for coming back for Week 3 of the One Room Challenge! We actually got a lotttt finished this past week, but for the sake of stretching my posts out over 6 weeks, I’m going to focus on the paint and a few other details, and save the vanity for next week!
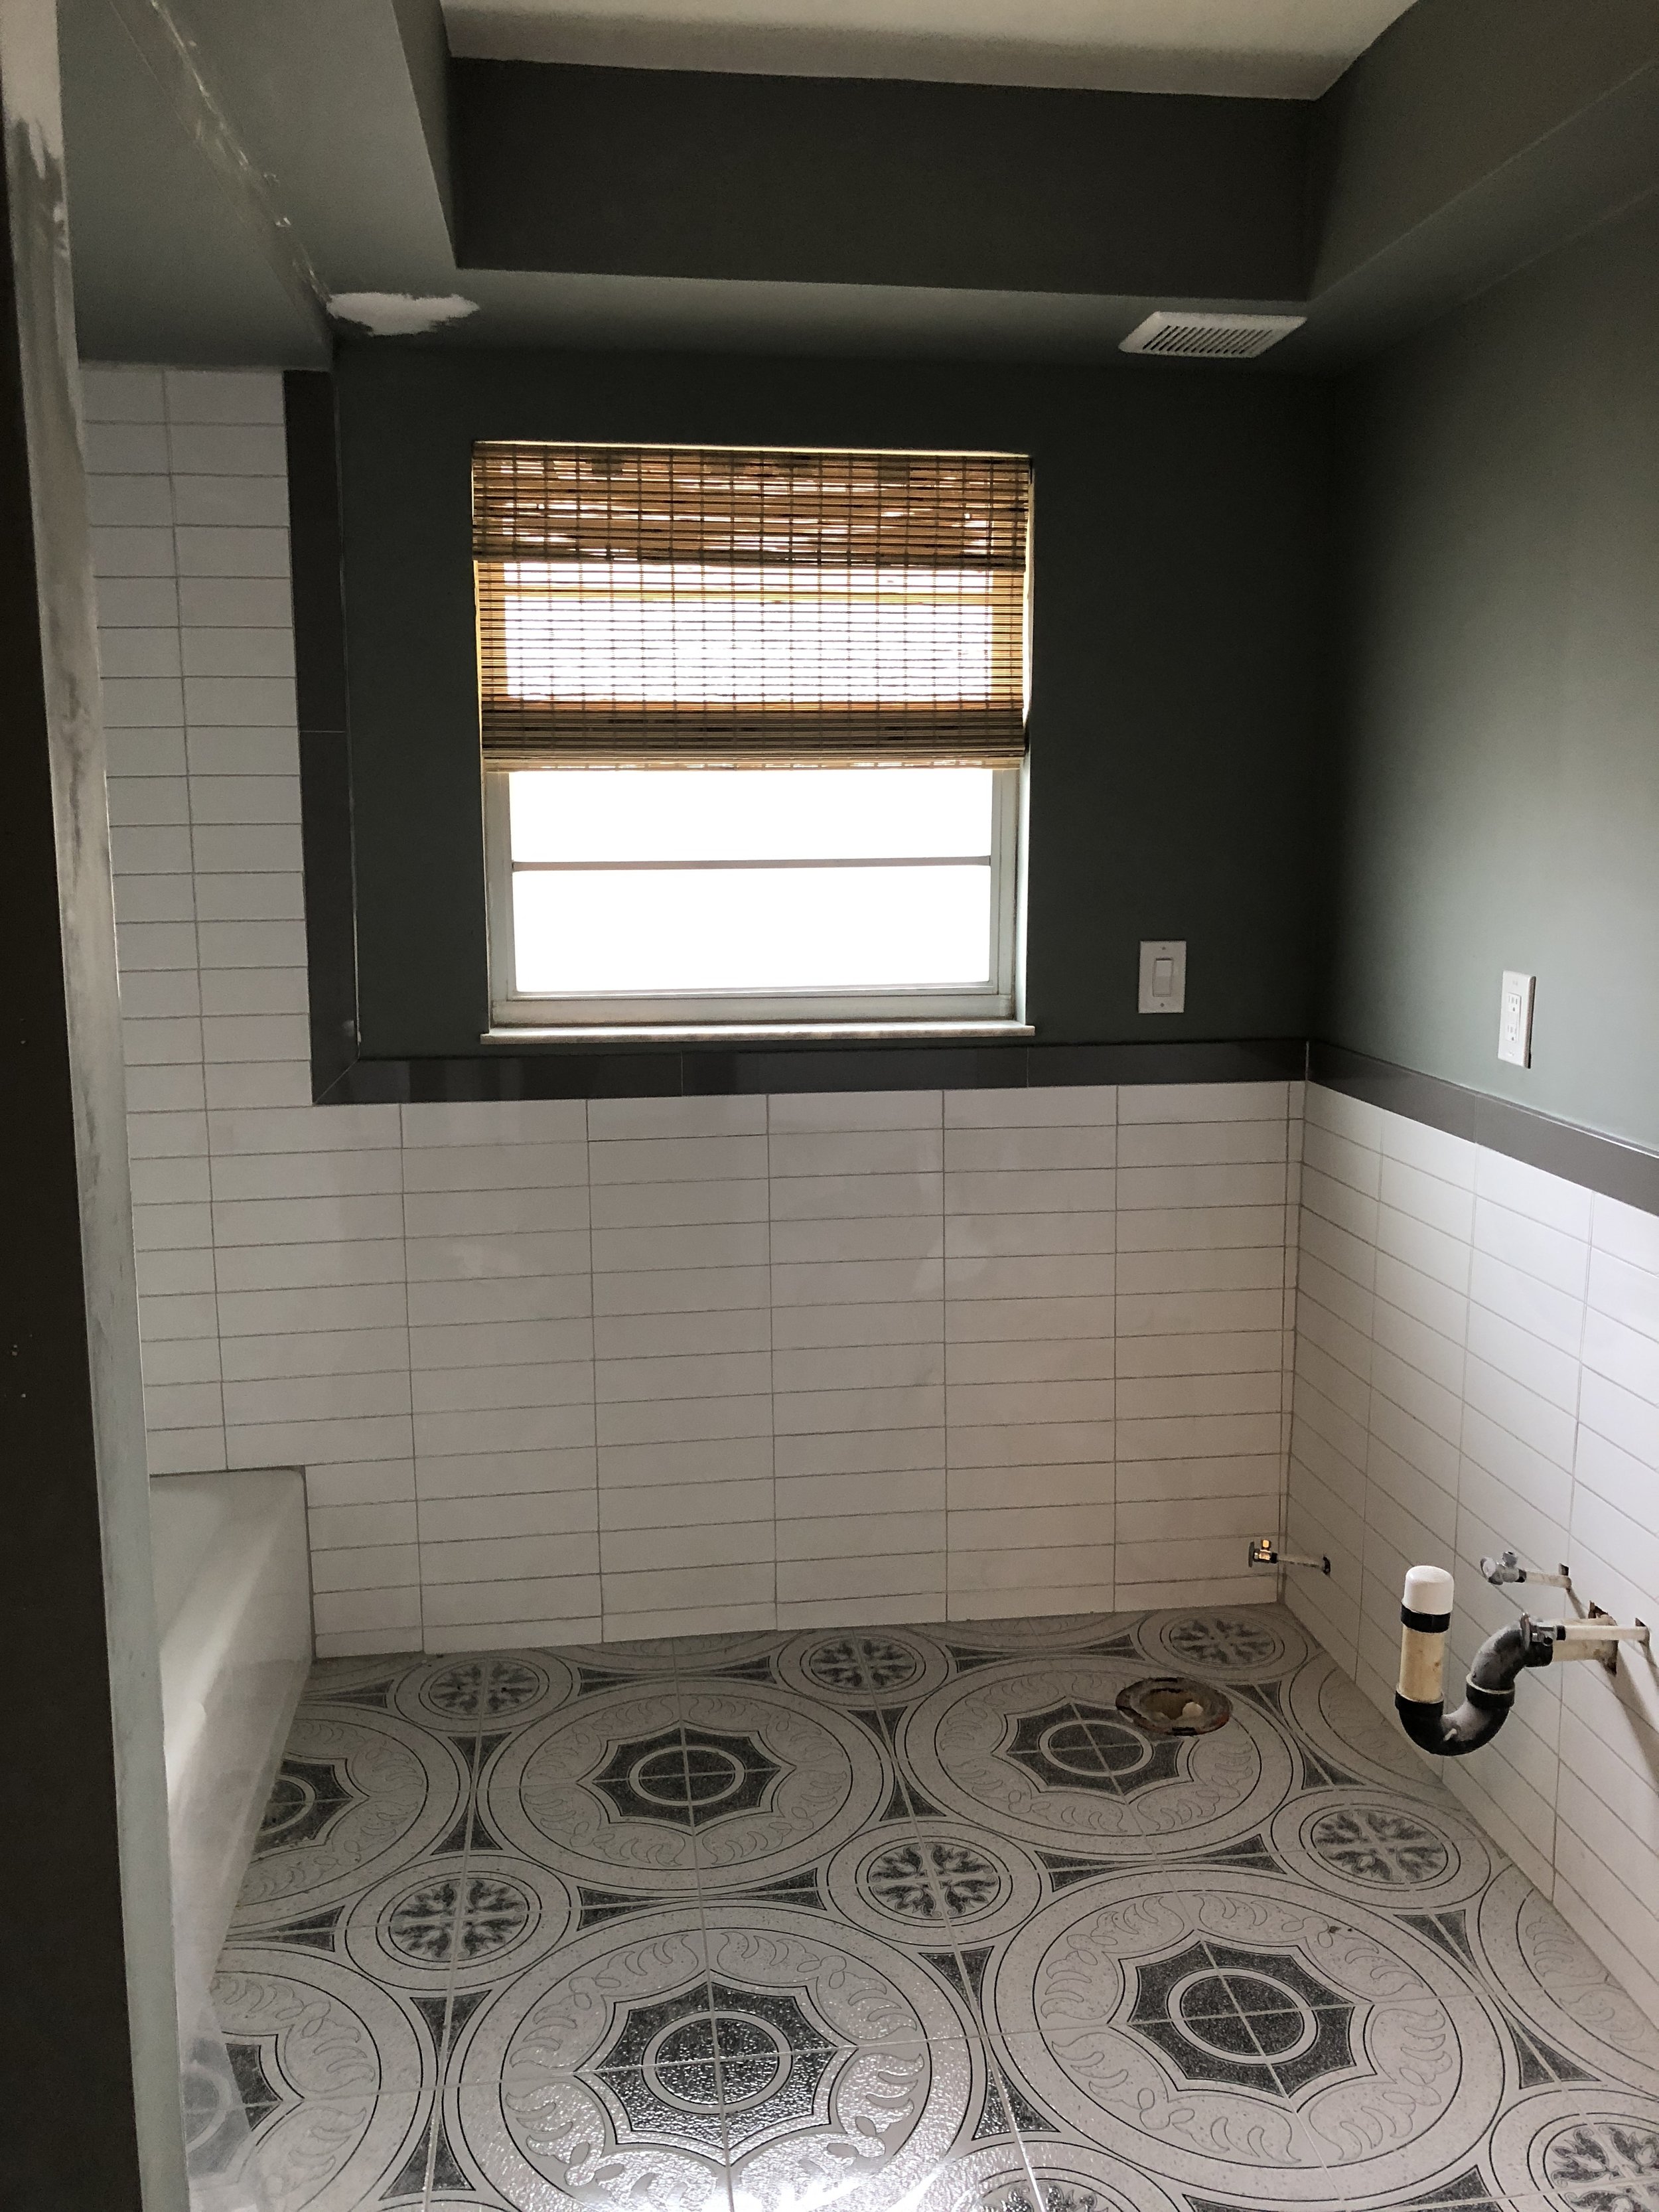
We started painting this room a couple weeks ago, but then had to mud some additional things, so it actually got finished being painted this week. The paint is Valspar that’s color-matched to Farrow and Ball’s Pigeon (because let’s be honest, we’re already so over budget on this house and I’m not spending $100+ for a gallon of paint right now!) We already had the paint on hand because we’ll be using it on part of our fireplace wall (that’s another project for another day) and I’m just obsessed with it lately. Our kitchen cabinets are actually pretty much this color as well, so I guess you could say I’m feelin’ it for this house!
Thanks for coming back for Week 3 of the One Room Challenge! We actually got a lotttt finished this past week, but for the sake of stretching my posts out over 6 weeks, I’m going to focus on the paint and a few other details, and save the vanity for next week!
We started painting this room a couple weeks ago, but then had to mud some additional things, so it actually got finished being painted this week. The paint is Valspar that’s color-matched to Farrow and Ball’s Pigeon (because let’s be honest, we’re already so over budget on this house and I’m not spending $100+ for a gallon of paint right now!) We already had the paint on hand because we’ll be using it on part of our fireplace wall (that’s another project for another day) and I’m just obsessed with it lately. Our kitchen cabinets are actually pretty much this color as well, so I guess you could say I’m feelin’ it for this house!
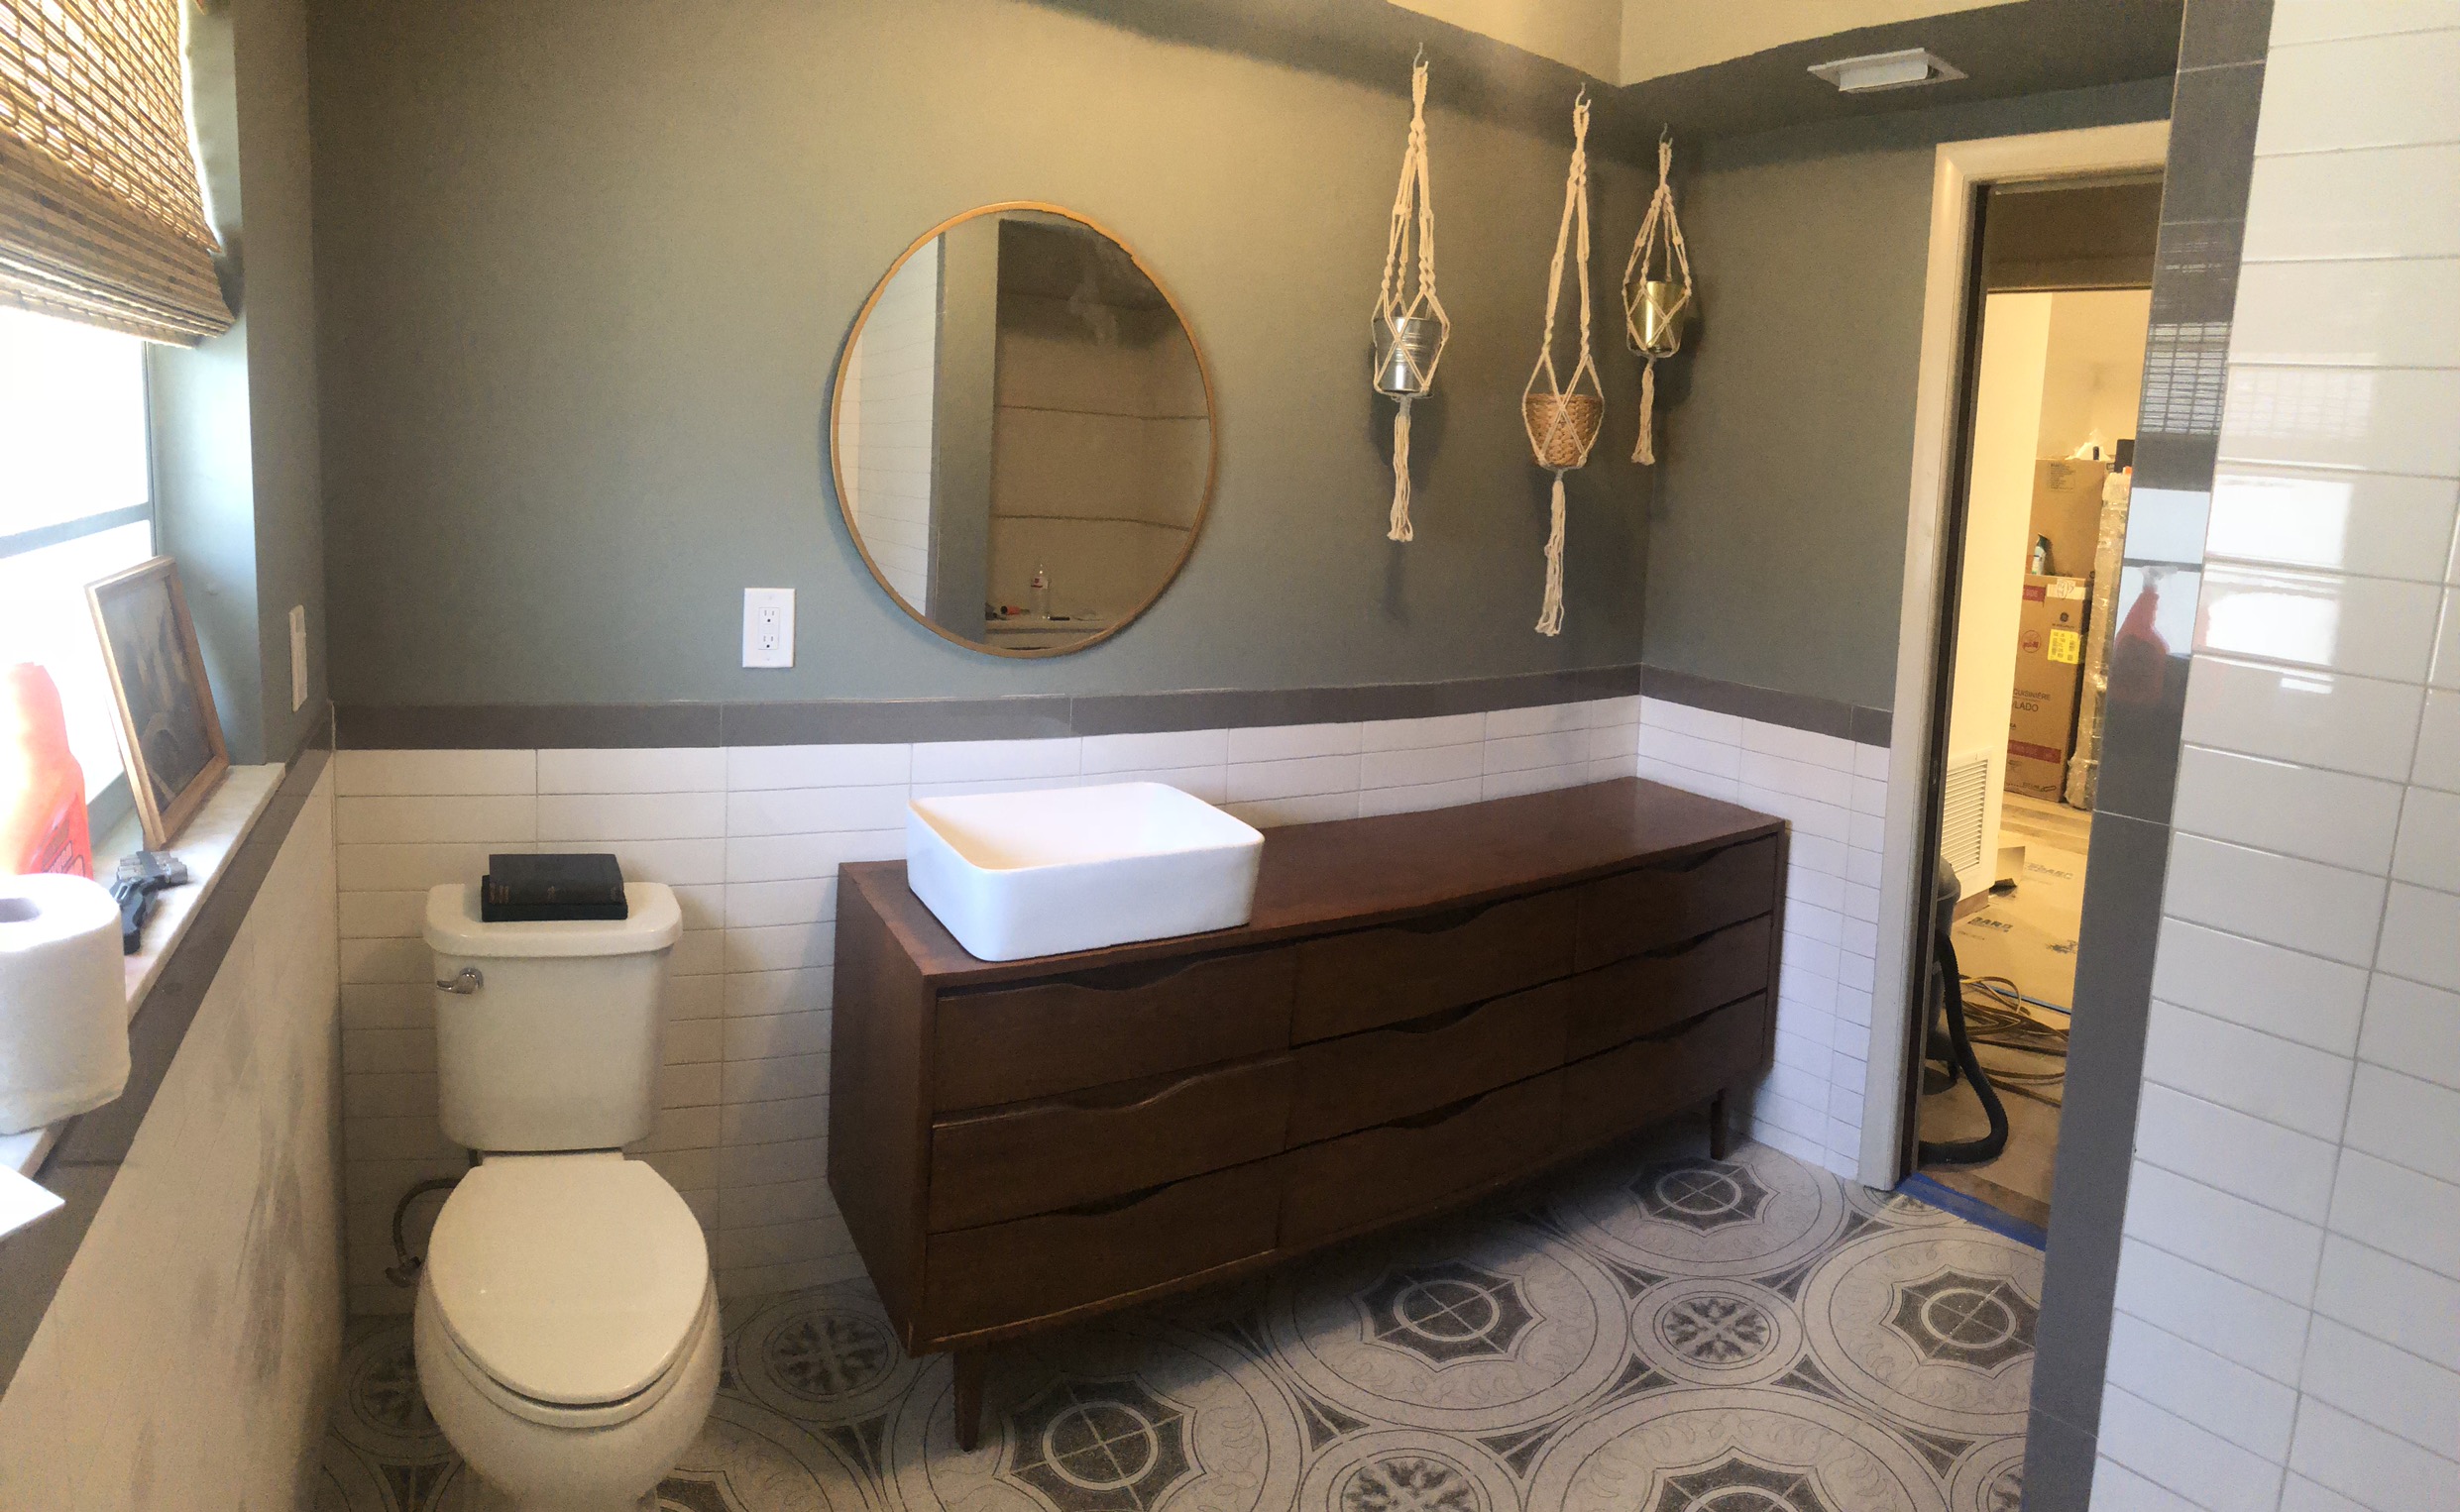
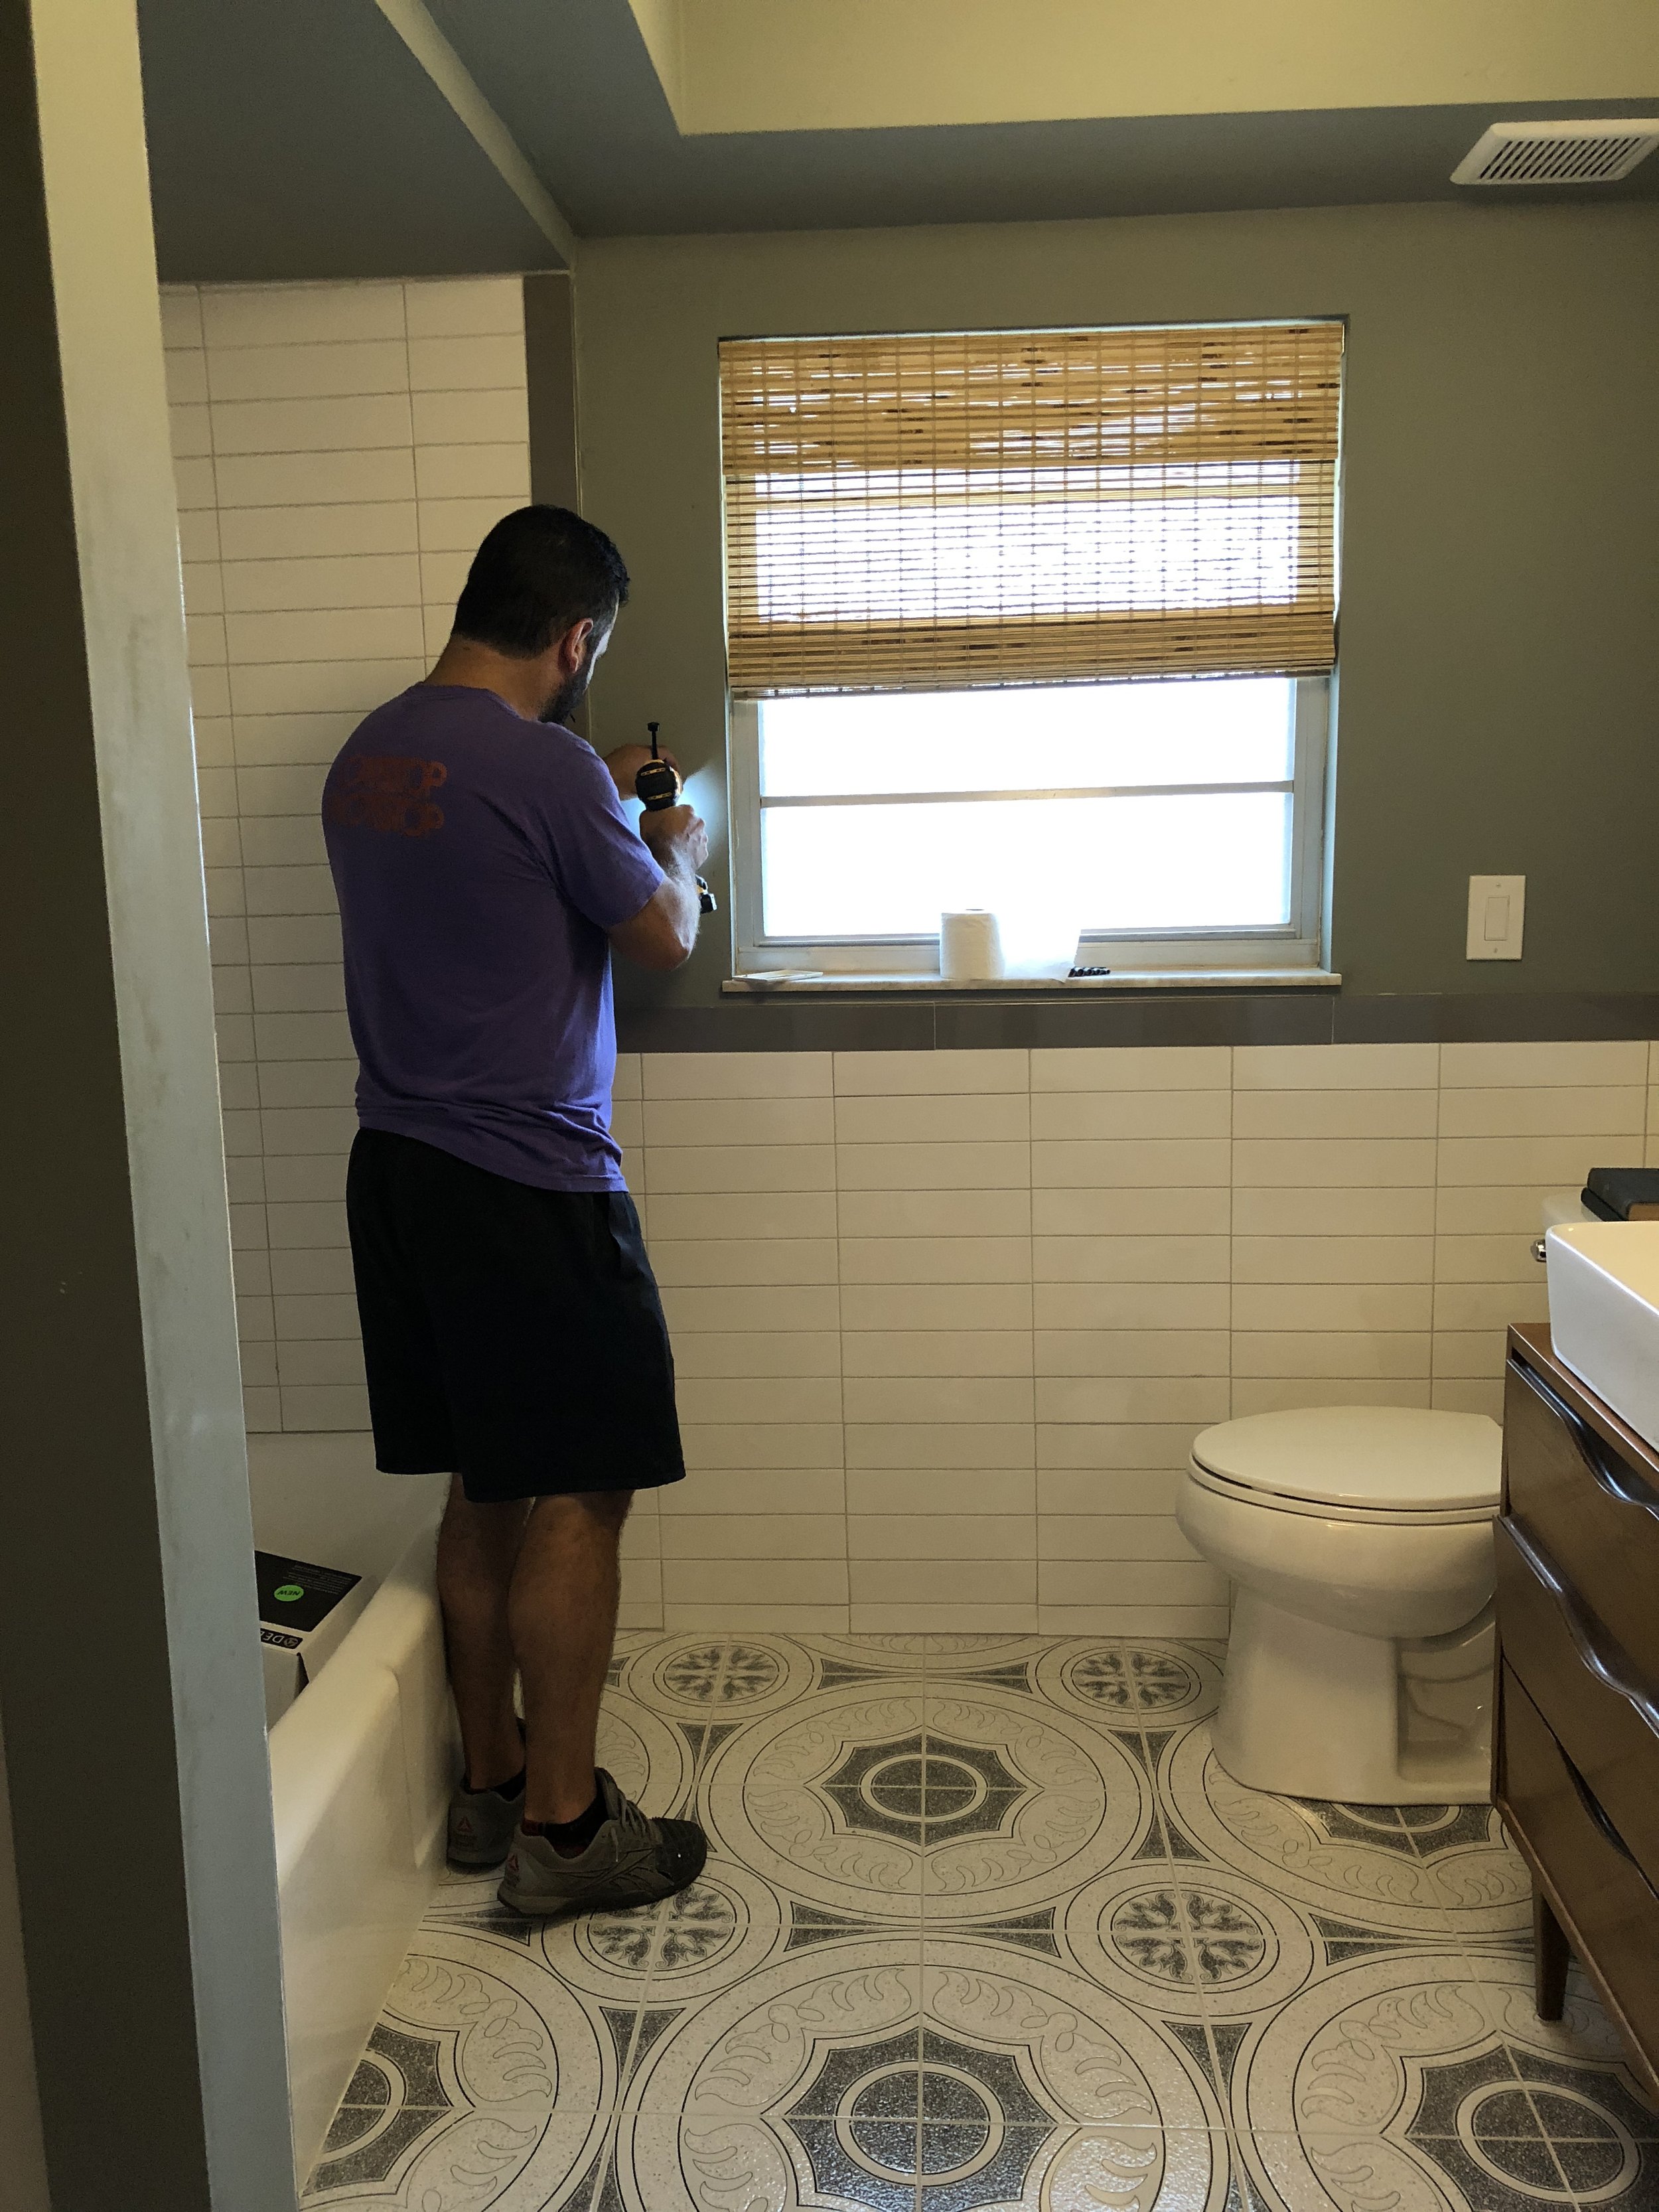
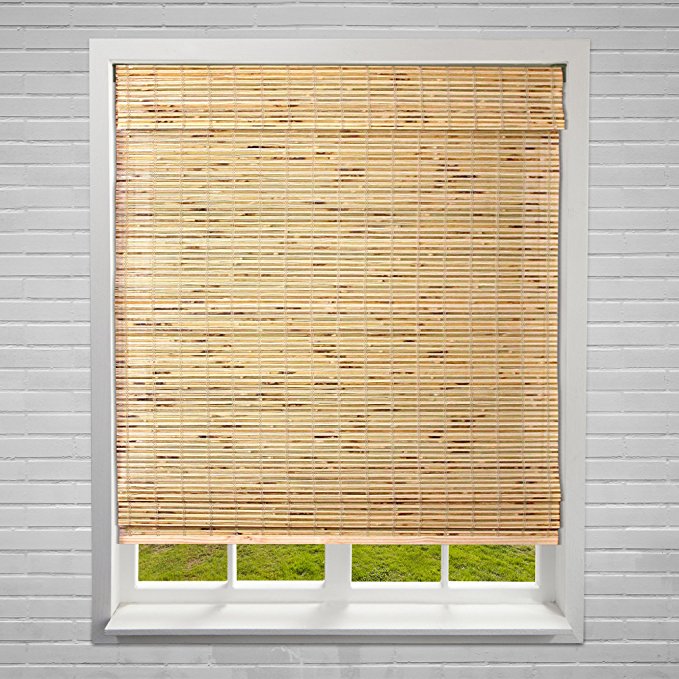
I also got a window shade for this room, even though the window already has privacy glass. It was more to add texture and make the window look more finished, and Ryan only threw out a few dozen expletives while hanging it up. ;)

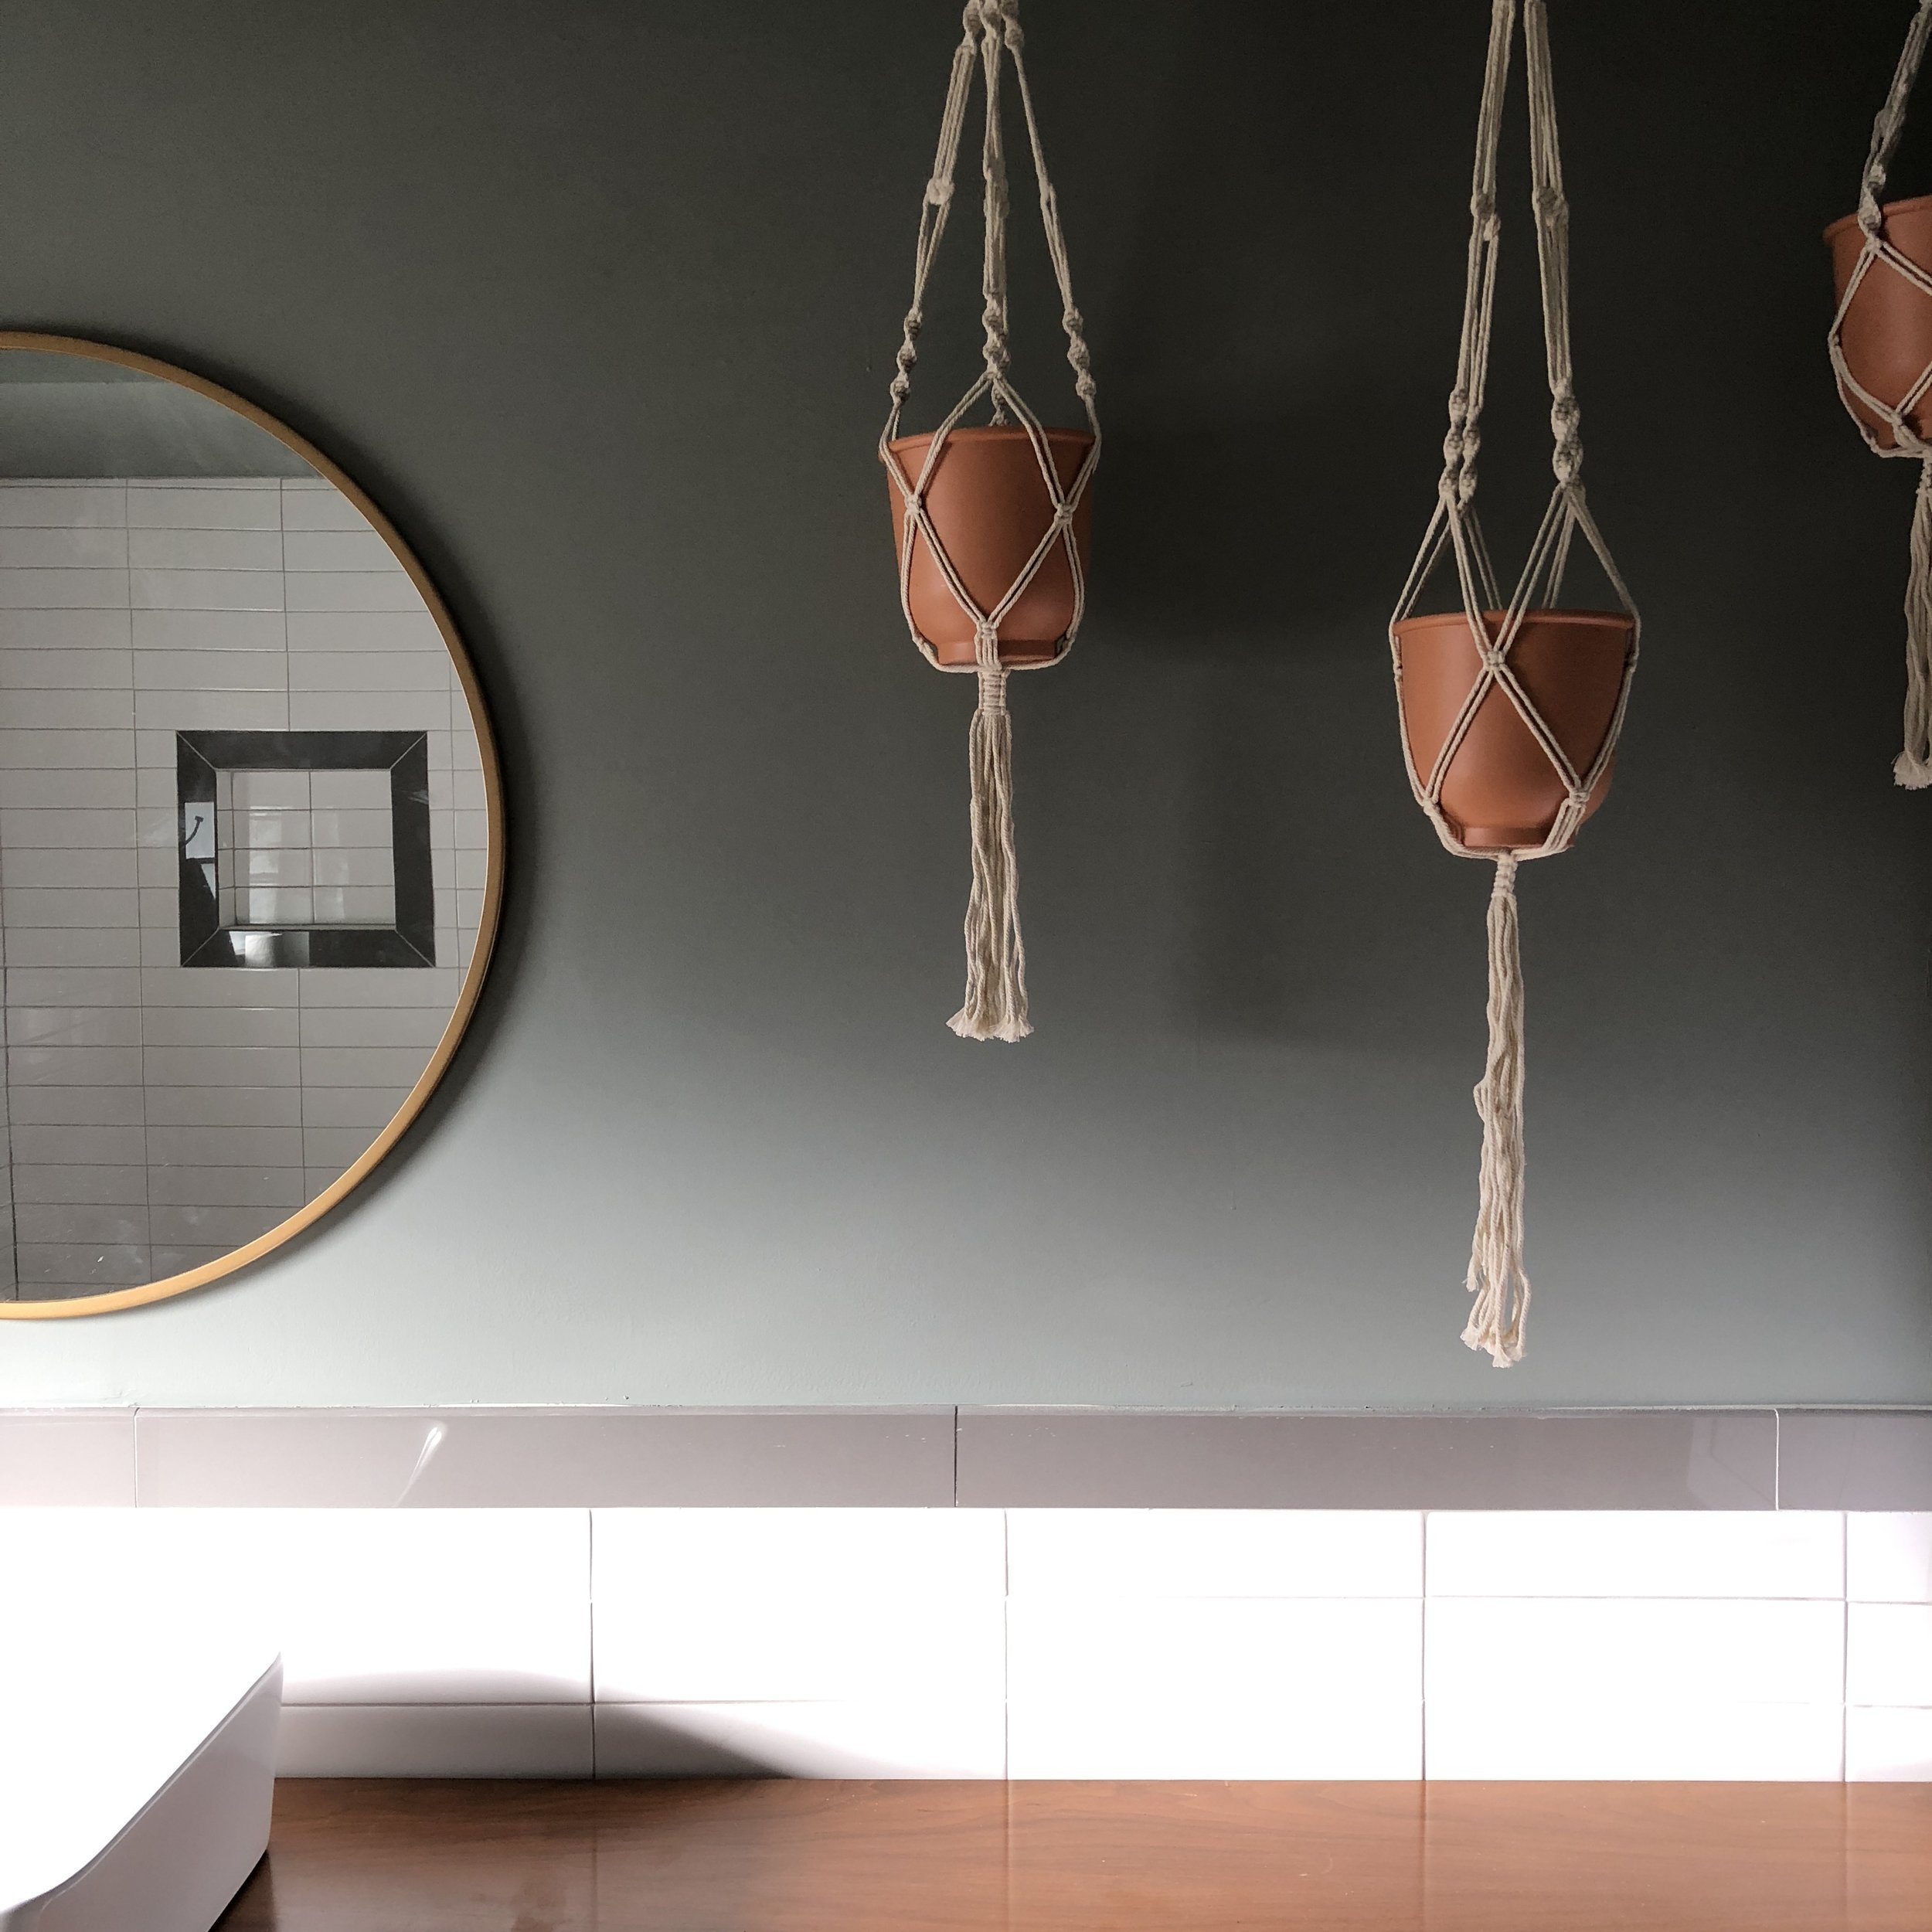
In other fun news, we now have another functioning toilet in the house! Woop woop. You can see it making it’s first public appearance in the photo below. We also hung up a hook for towels near the shower, hung the mirror, and added hanging planters above the vanity. I’ll talk all about the vanity in next week’s post - it’s one ball of plumbing putty away from being completely done and useable!

My vision for this space is getting more and more solidified each week, and I already love how it’s coming together! What do you think of these hanging planters? Would you ever try them in your bathroom? I love the color of the terra-cotta pots against that green - mmmmmm!
Don’t forget to check up on everyone else’s One Room Challenge progress! I can’t believe we’re already half way through, and will be seeing everyone’s finished spaces in a few short weeks.
SHOP THE POST


Homespo Reno - Weeks 4&5 Progress
Well we're over one month into our renovation, and it just now feels like we've turned a corner! Week four was pretty slow and frustrating - a delayed electrician meant that everything else was on hold. The walls couldn't be patched, which meant we couldn't paint, which meant we couldn't lay floors... oooof. So we fell a week or so behind schedule, but we more than made up for that in week 5!
Well we're over one month into our renovation, and it just now feels like we've turned a corner! Week four was pretty slow and frustrating - a delayed electrician meant that everything else was on hold. The walls couldn't be patched, which meant we couldn't paint, which meant we couldn't lay floors... oooof. So we fell a week or so behind schedule, but we more than made up for that in week 5!
Ryan's awesome sister Courtney flew down last weekend for the sole purpose of helping us with the house! What a gem. We got a ton done while she was here, and we've kept up that momentum going into week 6! (But you'll have to wait for the next post for those details)
Here's what we knocked out in weeks 4 and 5...
Cleared Out the Hoarder Shed
Oh, our backyard shed. It was the stuff of nightmares. It's 24' x 8' and basically every single inch of that was packed with crap. Big shout out to the former homeowner for leaving us with all this wonderful treasure to deal with... NOT.
It took me, Courtney, and Ryan almost 3 hours to empty it all out. We filled a 30 yard dumpster with all the stuff - it was insane. We were literally scooping it out with a shovel. Let's just say I couldn't be happier this particular task is crossed off the list. It was the worst!

The scary before

Tossing crap out by the shovelful!
Walls Patched
Do you remember all of the holes in our walls from our last post? Those finally got patched, mudded, and sanded, which means we have whole walls (instead of hole walls) again - hooray!
Got the Guest Bathroom Vanity
Originally we were planning on leaving the guest bathroom as-is. Cleaning the heck out of it, of course, but that was about it. However, it soon became apparent that that wasn't going to fly. It all started with the vanity - the drawers were all janky, and it was absolutely gross.
So we decided to replace that, but when we pulled it out we saw that the bathroom tile didn't extend under the old vanity. That left us with a vanity-sized hole in the tile that our new purchase wouldn't completely fill... which led to us ripping out all of the existing tile. When we were ripping out the tile, part of the dry wall came off, revealing gross mold on the bottom of the walls... which led to us taking out drywall. Aiy yi yi! So our guest bathroom has snowballed from "leaving it alone" to close to a full gut job. Oops!
For the new vanity, we purchased this antique dresser from Craigslist. We got this vessel sink and this faucet to go with it. Now it's up to Ryan to turn it from dresser to vanity... he just loves when I come up with these grand plans! ;)

Our Craigslist dresser that will one day be the guest bathroom vanity
Painted the Baseboards & Doors
We had to get new baseboards for the house, and all 500+ linear feet of them needed painting. Enter the lovely Courtney, who painted all of them over two days! She got into a groove and knocked out two coats on every one of them, which we can't thank her enough for!

Courtney in the baseboard painting zone!

We also got all new doors for the house, which we decided to paint gray. The color we ended up going with was Benjamin Moore's Stonington Gray.

Cut in with Paint

Again, Courtney was a huge help on this one! She did all of the cutting in on the bedroom side of the house, and Ryan finished up in the main room. That was a huge thing to cross off the list, and made the rolling portion of things (to come in week 6!) go so much faster!
Those were the big tasks we accomplished over the last two weeks! It's awesome to finally see it starting to look like a house, and the finish line feels like it's finally in sight. Stand by for week 6 updates!
